
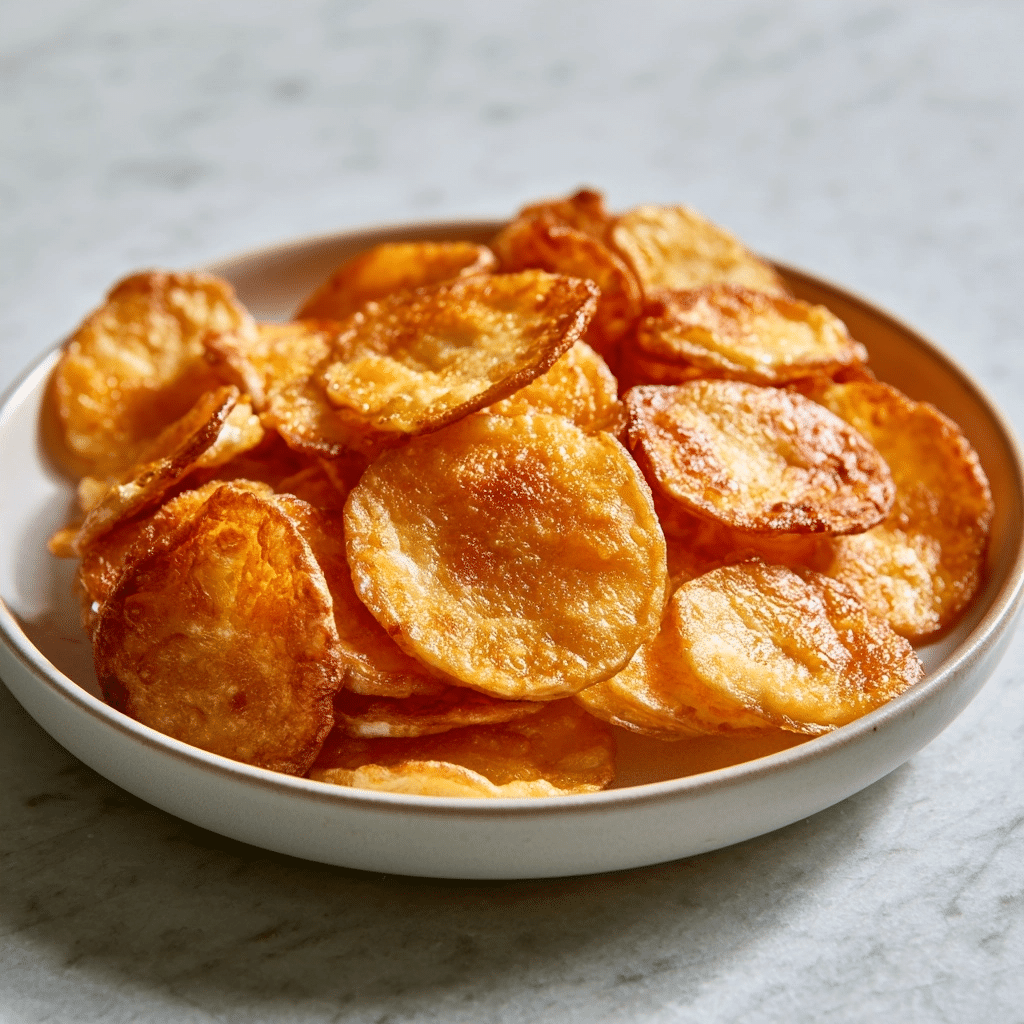
Cottage cheese chips are a nutrient-dense, high-protein alternative to traditional potato snacks that satisfy your craving for something crunchy without the heavy carbohydrates. By simply dehydrating and baking high-quality curd, you transform a creamy breakfast staple into a robust, savory cracker perfect for afternoon pick-me-ups or evening movie snacks. This simple preparation appeals to health-conscious individuals and those following low-carb or ketogenic diets who need a convenient way to boost protein intake on the go. These chips offer a firm, satisfying crunch that carries any spice blend you choose to add, leaving you feeling full and energized. Master this method, and you will never look at your pantry snack drawer the same way again.
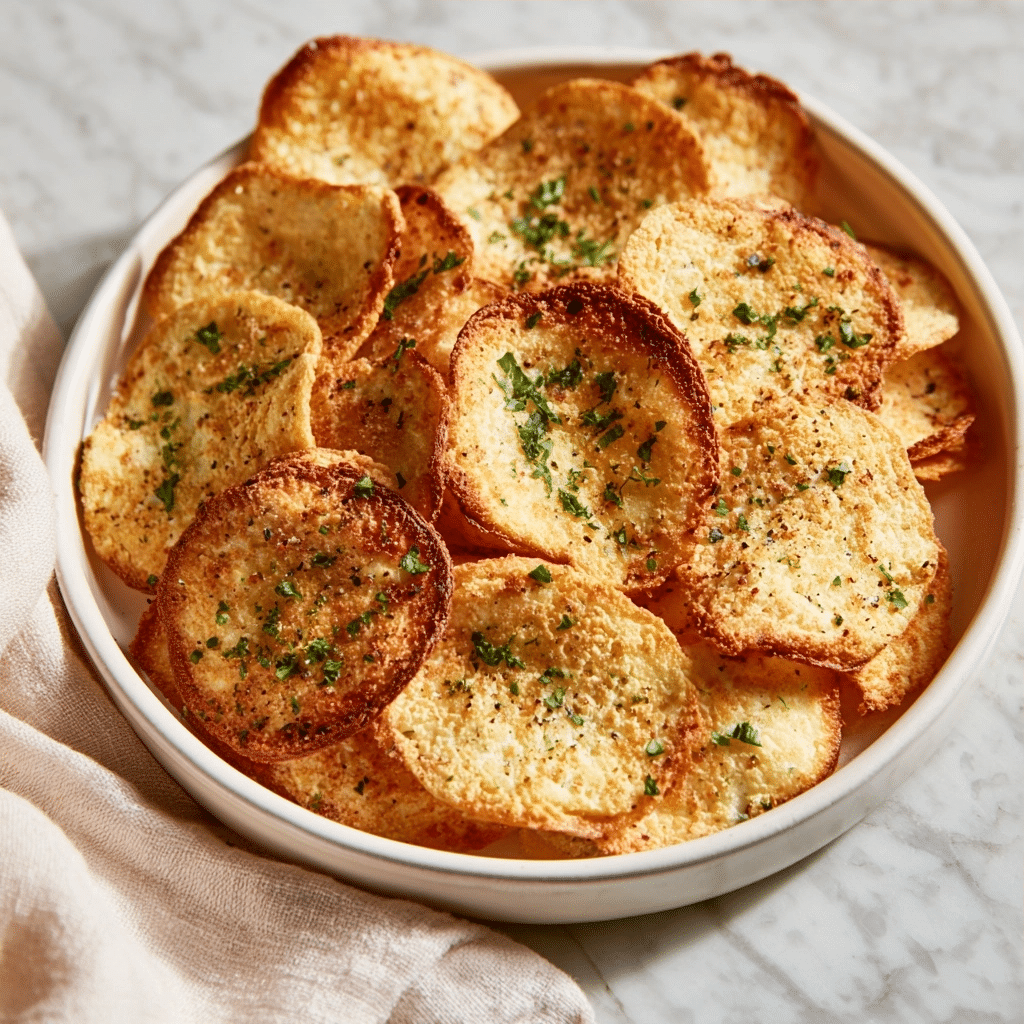
What Is Cottage Cheese Chips?
Cottage cheese chips consist of high-protein dairy curds that have been dehydrated and toasted until they reach a rigid, wafer-like consistency. Unlike commercial chips that rely on processed starches or fried potatoes, this snack utilizes the natural proteins and fats found in whole milk dairy to create a structural matrix. Originating as a popular low-carb hack, these chips bridge the gap between heavy meal prep and light snacking. They are distinguished from traditional cheese crisps, which are usually made from shredded cheddar or parmesan, because the high moisture content of cottage cheese requires a longer, more controlled baking process to achieve the ideal texture.
| Prep Time | 5 minutes |
| Cook Time | 50 minutes |
| Total Time | 55 minutes |
| Servings | 2 |
| Difficulty Level | Easy |
| Cuisine | Modern American |
| Calories per Serving | 160 |
Why You’ll Love This Recipe
- Effortless Preparation: This recipe requires only a single main ingredient and minimal active effort, making it ideal for busy schedules.
- High Protein Content: Unlike empty-calorie snacks, these chips provide a significant protein boost that supports muscle recovery and satiety.
- Customizable Flavor: The neutral base acts as a blank canvas, allowing for endless seasoning combinations from spicy paprika to garlic herb.
- Keto-Friendly: With nearly zero carbohydrates, this snack fits perfectly into strict low-carb or keto dietary frameworks.
- Foolproof Method: The step-by-step approach ensures consistent results, even if you are new to healthy snack baking.
This recipe serves as a versatile solution for meal prep enthusiasts who want to keep healthy options on hand. Whether you are hosting a casual gathering or simply need a quick crunch during a work-from-home afternoon, this snack provides a satisfying experience without the guilt of processed ingredients.
Why This Recipe Works
I first discovered this technique when looking for a savory crunch that wouldn’t spike my blood sugar during a busy workday. The transformation from a soft, wet curd to a crisp, golden chip relies entirely on the evaporation of surface moisture followed by the caramelization of the milk solids.
The key to success lies in the surface area and drying time. By flattening the mounds of cheese, you expose maximum surface area to the oven’s heat. As the moisture evaporates, the proteins begin to bond and crisp, while the milk fat provides the necessary flavor depth that prevents the chip from tasting like dry, burnt dust. A consistent 1/4-inch thickness is critical for even cooking and a uniform snap across the entire batch.
The sensory payoff is a rich, slightly salty cracker that holds its own when dipped into hummus or guacamole. Because the sugars and proteins in the milk undergo a Maillard reaction, you get a beautiful golden-brown color and a complex, nutty finish. Properly cooled chips provide a structural integrity that mimics store-bought crackers, delivering a satisfying auditory crunch with every bite.
Pro Tips Before You Start
- Drain Well: Use a fine-mesh sieve to remove excess whey, as too much liquid prevents the chips from ever becoming truly crispy.
- Uniform Spacing: Ensure each scoop is spaced at least 2 inches apart to allow hot air to circulate freely around the edges.
- Parchment Matters: Always use high-quality parchment paper, as cottage cheese tends to bond aggressively to bare metal or silicone surfaces.
Ingredients
Here’s everything you’ll need to make crispy cottage cheese chips:
| Ingredient | Quantity | Notes |
| Whole Milk Cottage Cheese | 1 cup (256g) | 4% milkfat is essential |
| Seasonings | 1 tsp (optional) | Use dried herbs or sea salt |
| Parmesan Cheese | 2 tbsp (optional) | Adds extra crunch and salt |
Best Ingredients for Cottage Cheese Chips
Choosing the right cottage cheese is the most important decision you will make for this recipe. You must select a 4% milkfat variety; the fat content is essential for structural integrity and richness. Avoid non-fat versions, as they lack the necessary solids to form a crisp chip, often resulting in a leathery or rubbery texture instead. High-quality, small-curd cottage cheese is preferred because it creates a more uniform consistency once flattened, which leads to a more balanced bake across the entire tray.
Step-by-Step Instructions
Phase 1: Preparation
- Preheat your oven to 350°F (175°C) and line a large baking sheet with high-quality, non-stick parchment paper.
- Spray the parchment paper lightly with oil to ensure the chips release easily once they are finished cooling.
- Drain the excess whey from your 1 cup (256g) of cottage cheese using a fine-mesh strainer to ensure optimal crispiness.
Phase 2: Forming the Chips
- Scoop the cottage cheese onto the tray using a 1-tablespoon measure, spacing each mound at least 2 inches apart.
- Flatten each mound using the back of a metal spoon until it is exactly 1/4 inch thick to ensure uniform drying.
- Sprinkle your choice of optional seasonings, such as smoked paprika or parmesan, evenly over the flattened circles.
Phase 3: Baking
- Bake for 40-50 minutes, checking the texture around the 20-minute mark to ensure the edges are not darkening too quickly.
- Remove the tray when the chips reach a deep golden brown color and the edges are firm to the touch.
- Cool the chips completely on the baking sheet to allow the residual heat to finish hardening the structure.
Chef Tips for Perfect Results
- Test for Doneness: The chips are done when they are rigid; if they feel soft in the center, they need 5-10 more minutes in the oven.
- Monitor Closely: Since ovens vary, use an oven thermometer to verify the 350°F (175°C) temperature, as hotspots can burn the edges.
- Cooling Time: Do not move the chips until they are fully cool, as they will break apart if handled while still soft and warm.
Common Mistakes to Avoid
- Overcrowding the Tray: [WHAT] Chips stay soft or steam instead of baking. [WHY] Excess moisture trapped between chips prevents drying. [FIX] Maintain 2 inches of space.
- Using Non-Fat Cheese: [WHAT] Chips turn out chewy or rubbery. [WHY] Lack of fat prevents the necessary structural change. [FIX] Use only 4% milkfat cottage cheese.
- Insufficient Drying: [WHAT] Chips are soggy after cooling. [WHY] Residual whey remains in the curds. [FIX] Drain the cheese thoroughly through a mesh sieve before scooping.
How to Make This Recipe Healthier
- Cottage Cheese: Use organic grass-fed varieties to increase the concentration of healthy omega-3 fatty acids without adding extra calories.
- Seasonings: Replace processed salt-heavy seasonings with nutritional yeast, which adds a savory, cheesy flavor profile and extra B vitamins.
- Portion Control: Limit your intake to one serving at a time to keep caloric density in check, as these are calorie-dense due to the concentrated nature of the dairy.
Variations and Substitutions
| Ingredient | Substitution | Flavor Impact | Texture Impact |
| Cottage Cheese | Ricotta Cheese | Creamier, milder | Softer, more delicate |
| Seasoning | Everything Bagel Spice | Garlicky, nutty | Adds crunch |
| Parmesan | Nutritional Yeast | Nutty, earthy | Adds lightness |
Can You Make This Ahead?
Yes, you can prepare these chips up to 3 days in advance. To maintain the best crunch, bake them fully and store them in an airtight container at room temperature. If they lose their crispiness due to humidity, you can refresh them by placing them in a 300°F (150°C) oven for 3-5 minutes. This quick toast will return the snap to the edges and remove any moisture absorbed during storage.
Serving Suggestions and Pairings
Serve these chips alongside a bowl of fresh hummus or Greek yogurt dip to create a protein-packed snack platter. They pair wonderfully with a crisp, non-alcoholic sparkling apple cider or a chilled herbal tea for an afternoon treat. For a more sophisticated presentation, arrange the chips on a wooden board with fresh herbs or olives to provide a beautiful contrast of colors. Their salty, toasted flavor also makes them an excellent side for a light lunch salad, adding the texture that is often missing from leafy green dishes.
Best Occasions to Serve This Recipe
These chips are perfect for quick weeknight snacking, meal-prep Sundays, or as a healthy alternative to chips at family gatherings. Because they are easy to transport, they work well as a gym-friendly snack or a high-protein addition to a child’s lunchbox. They are especially useful during the holiday season when heavy party food is abundant, offering a refreshing and light option for guests who prefer to keep their energy levels consistent throughout the event.
Storage and Reheating
| Method | Duration | Instructions |
| Refrigerator | 4 days | Airtight container |
| Oven Refresh | 5 minutes | 300°F (150°C) until crisp |
Nutritional Information
Approximate nutritional values per serving:
| Nutrient | Amount per Serving |
| Calories | 160 |
| Protein | 14g |
| Fat | 8g |
| Carbohydrates | 3g |
| Fiber | 0g |
*Approximate values based on standard ingredients. Actual nutrition varies by brand and substitutions.
Conclusion
Cottage cheese chips represent a smart, simple, and effective way to upgrade your snacking habits. By leveraging the high protein content of cottage cheese and a straightforward oven-drying technique, you create a crispy, satisfying treat that keeps you fueled and focused. You will discover that this recipe requires little more than patience as the oven does the hard work, transforming humble dairy curds into something genuinely impressive. This snack delivers on flavor, texture, and nutritional value, making it a staple you will reach for repeatedly.
You are now ready to experiment with your own unique seasoning blends and flavor profiles. Try this recipe this weekend, share a batch with friends who enjoy healthy snacks, and experience how rewarding simple, whole-food cooking can be. Start your batch today and enjoy the perfect crispy outcome.
FAQ
Can I substitute cottage cheese with Greek yogurt?
No, Greek yogurt does not have the necessary protein structure or solid curd content to crisp up properly in the oven. It will result in a burnt, thin sheet rather than a satisfying chip.
How do I know when the chips are done cooking?
The chips are done when the edges are a deep golden brown and the entire surface is rigid to the touch. They will continue to crisp up as they cool on the tray.
What should I do if my chips are still chewy?
Your chips likely need more drying time or your oven temperature was too low. Return them to the oven for an additional 5-10 minutes and ensure they cool completely before attempting to eat them.
Can I make these in the microwave?
Yes, you can use the microwave method by spreading the cheese on parchment and cooking for 2-3 minute intervals, but the oven method generally produces a more uniform, superior crisp.
Print
Healthy Cottage Cheese Chips
- Total Time: 55
- Yield: 2 servings
- Diet: Keto, Vegetarian, High Protein
Description
Transform humble cottage cheese into a nutrient-dense, high-protein snack that satisfies every craving for a crunch. These crispy, wafer-like chips are the perfect low-carb alternative to traditional potato snacks. By dehydrating high-quality curds in the oven, you create a robust, savory cracker that is naturally keto-friendly and incredibly versatile. Whether you spice them with smoked paprika or savory garlic herbs, these protein-packed bites provide a guilt-free way to stay energized throughout your busy day without the heavy carbohydrates found in store-bought options.
Ingredients
2 cups full-fat cottage cheese
1/2 tsp garlic powder
1/2 tsp smoked paprika
1/4 tsp sea salt
Instructions
Preheat your oven to 325°F (165°C) and line a baking sheet with high-quality parchment paper.
Place the cottage cheese into a food processor and pulse until it reaches a smooth, consistent texture.
Spoon small, tablespoon-sized dollops onto the prepared parchment paper, spacing them about an inch apart.
Use the back of the spoon to flatten each dollop into thin, even rounds.
Sprinkle the garlic powder, smoked paprika, and salt lightly over each chip.
Bake for 50 minutes, or until the edges are golden brown and the centers are completely dry and firm.
Remove from the oven and allow the chips to cool completely on the tray, as they will continue to crisp up as they set.
Notes
Ensure the cottage cheese is spread very thin to achieve maximum crispiness. If the center feels soft after 50 minutes, leave them in the turned-off oven for an additional 10 minutes. Store in an airtight container at room temperature for up to 3 days, though they are best enjoyed fresh.
- Prep Time: 5
- Cook Time: 50
- Category: Breakfast
- Method: Baking
- Cuisine: Modern American