
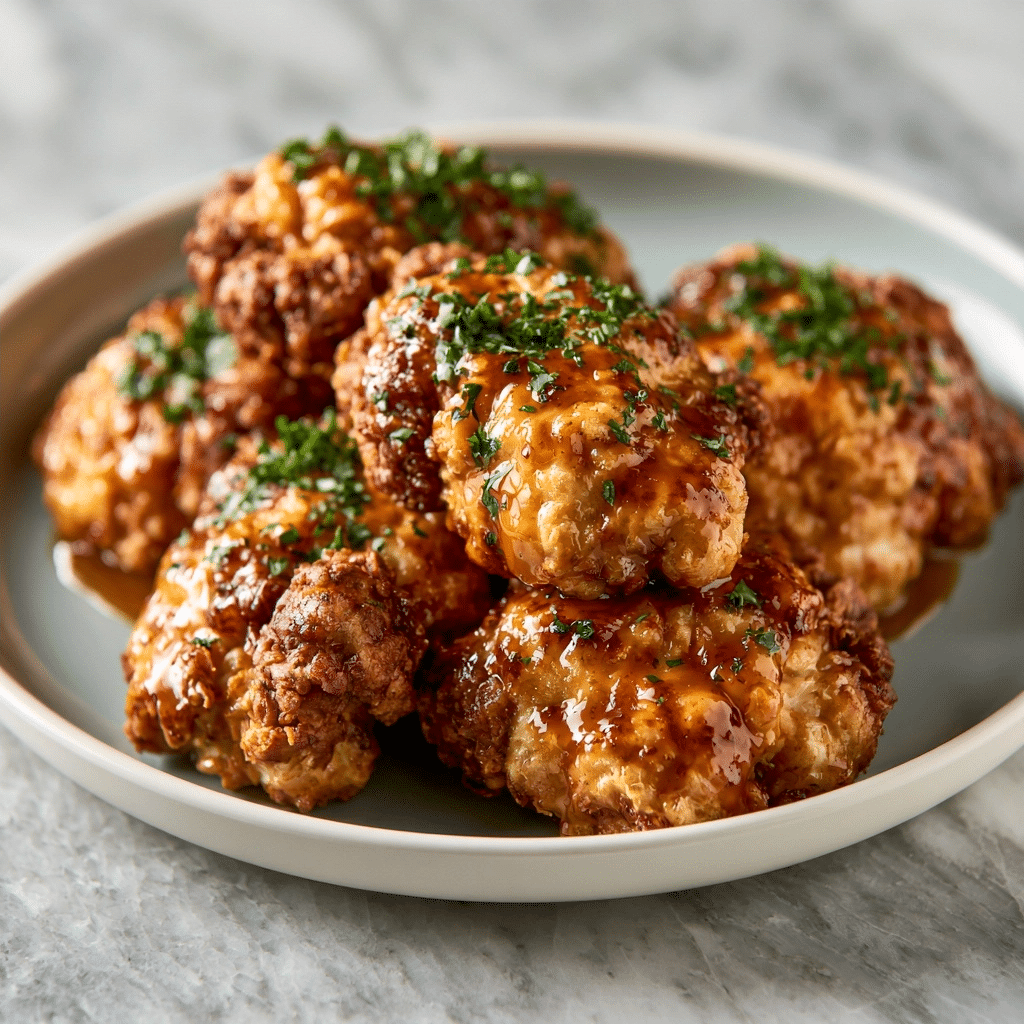
Perfect Chicken Fried Chicken: The Crispiest Southern Classic
Chicken fried chicken is a classic comfort dish that transforms boneless, skinless breasts into a tender, golden-brown masterpiece through the art of thin-pounding and expert breading. This recipe is designed for home cooks who crave that quintessential Southern crunch and savory herb-seasoned profile, making it a beloved choice for hearty family dinners or mid-week cravings. By meticulously preparing the protein and managing your oil temperature, you achieve a shatteringly crisp exterior and an exceptionally moist interior every time. Prepare yourself for a meal that defines soul-warming satisfaction and serves as the ultimate base for a creamy, homemade country gravy.
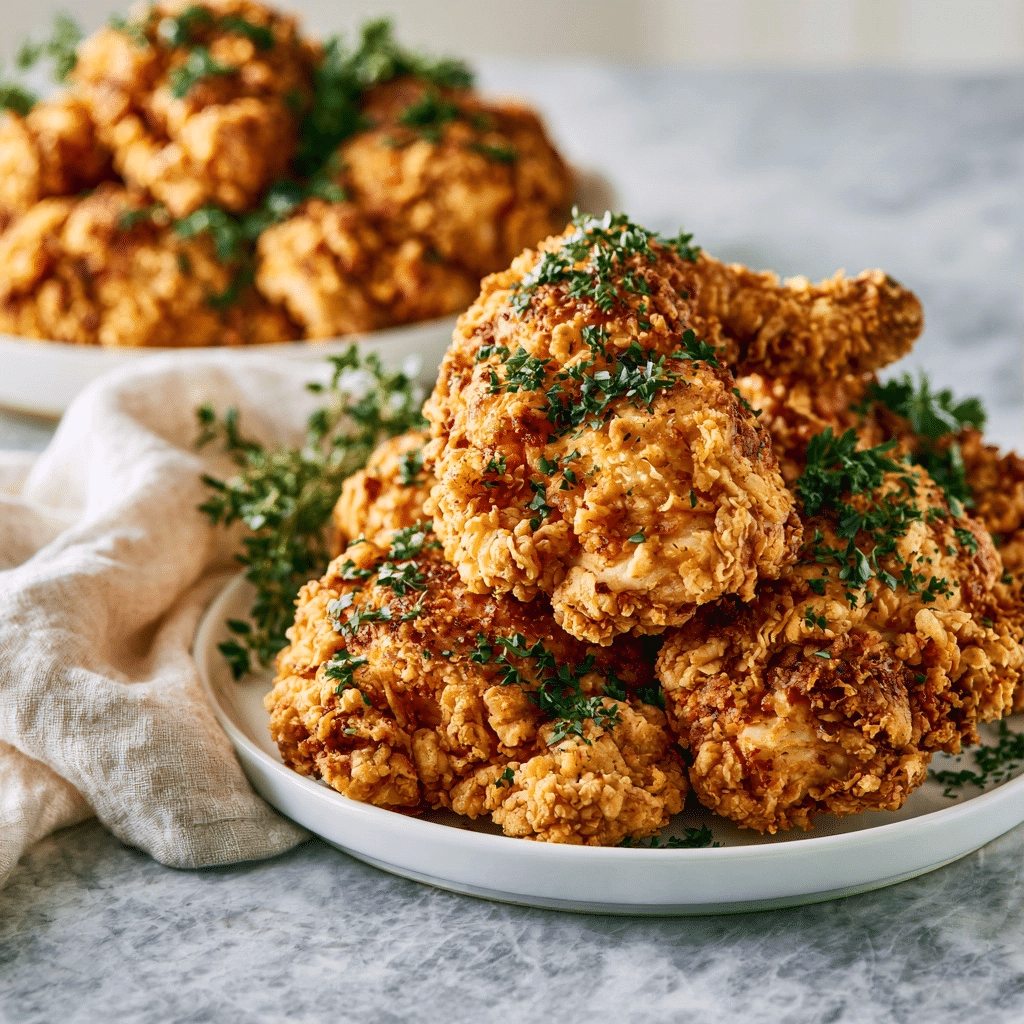
What Is Chicken Fried Chicken?
Chicken fried chicken is a traditional American dish consisting of a boneless chicken breast that is pounded thin, breaded, and fried until it achieves a signature golden-brown crust. Unlike chicken-fried steak, which uses beef, this poultry version relies on the quick-cooking nature of flattened breasts to ensure even doneness. Its popularity stems from the iconic combination of savory, seasoned breading and the rich, velvety texture of country gravy served over the top. This dish represents a functional culinary staple of Southern cuisine, renowned for its ability to turn simple pantry ingredients into a restaurant-quality meal.
| Prep Time | 20 minutes |
| Cook Time | 15 minutes |
| Total Time | 35 minutes |
| Servings | 4 |
| Difficulty | Intermediate |
| Cuisine | Southern American |
| Calories | 520 kcal |
Why You’ll Love This Recipe
- Effortless Preparation: Using boneless breasts ensures a quick cooking time and minimal prep work.
- Foolproof Results: The three-step dredging process guarantees a consistent, crispy crust that stays attached to the meat.
- Crowd-Pleasing Flavors: The classic blend of garlic, paprika, and onion powder appeals to both children and adults.
- Cost-Effective: This meal relies on humble items like flour, milk, and spices for an impressive result.
This recipe provides a reliable approach to a complex-tasting dish that requires very little active time. Whether you need an impressive dinner for busy weeknights or are looking to master a comfort food classic, this technique delivers consistent results. You get the crunch you crave without the mess of complicated kitchen processes, making it a staple for any home cook.
Why This Recipe Works
In my years of developing Southern-style recipes, I have found that the secret to the best version of this dish lies in the structural integrity of the breading. When I first attempted this, I struggled with the coating sliding off the chicken; however, I learned that properly drying the meat and utilizing a standard dredging sequence corrects this instantly. The science here involves proteins in the egg and the starch in the flour creating a bond that holds fast under the heat of the skillet.
The technique of pounding the chicken to a quarter-inch thickness is not merely about aesthetics. It ensures that the heat penetrates the protein at the same rate the crust achieves its golden, caramelized finish. If the breast is too thick, the outside burns before the center is safe to eat; if too thin, it dries out. This specific thickness hitting the 350-375°F threshold is the precise “sweet spot” that guarantees success.
Finally, the sensory interplay between the crispy, salt-flecked exterior and the rich, creamy gravy creates a balanced bite. The heat from the pepper and paprika balances the fat of the milk-based sauce, preventing the dish from feeling too heavy. Visually, the contrast between the dark golden edges of the chicken and the smooth, pale gravy signals that the dish is ready for the table.
Pro Tips Before You Start
Room Temperature Ingredients: Remove eggs and milk 30 minutes before starting for a more stable breading process. Dry the Chicken: Pat your chicken completely dry with paper towels to ensure the flour sticks to the meat rather than moisture. Mise en Place: Arrange all three dredging stations in order before you start the heat to keep your hands clean during the process. Oil Depth: Ensure your skillet has enough oil to come at least halfway up the sides of the chicken to ensure even browning.
Ingredients
Here is everything you will need to make perfect chicken fried chicken.
| Ingredient | Quantity | Notes |
| Boneless Chicken Breasts | 4 breasts | Pounded to 1/4 inch |
| All-Purpose Flour | 2.5 cups | Divided |
| Large Eggs | 2 | Slightly beaten |
| Whole Milk | ¾ cup | Alternative: Buttermilk |
| Hot Sauce | 2 dashes | Optional* |
| Canola Oil | 2 cups | For frying |
| Spices (Salt, Paprika, Pepper, Garlic, Onion) | To taste | Dried powders |
Best Ingredients for Chicken Fried Chicken
Quality makes a significant difference in a dish with so few components. Stick to high-quality all-purpose flour rather than self-rising to prevent the crust from puffing unevenly. Using fresh, large room-temperature eggs is crucial, as they create a better adhesive layer for the breading. For the oil, choose a neutral option with a high smoke point, such as canola or peanut oil, to ensure you can reach 375°F without burning the fats in the pan.
Step-by-Step Instructions
Phase 1: Prepare the Protein
- Place chicken breasts into a gallon-sized ziptop bag, removing as much air as possible before sealing.
- Pound the chicken using a mallet or rolling pin, starting at the thickest part and moving outward until consistently 1/4 inch thin.
- Season the chicken generously with the salt, paprika, pepper, garlic powder, and onion powder mixture.
Phase 2: Establish the Dredging Station
- Add 1 cup of flour to the first bowl.
- Combine eggs, milk, and hot sauce in a second bowl, whisking until fully incorporated.
- Mix the remaining 1.5 cups of flour with the rest of the spice mixture in a third bowl.
- Dredge the seasoned chicken in plain flour first, shaking off excessive powder.
- Dip the chicken into the egg wash until fully saturated.
- Transfer to the seasoned flour bowl, pressing firmly to ensure a thick crust.
Phase 3: Fry and Make Gravy
- Heat 2 cups of canola oil in a large skillet to 350-375°F over medium-high heat.
- Fry the chicken for 3-4 minutes on the first side, then flip carefully.
- Cook for 2-3 additional minutes on the second side until golden brown and crispy.
- Melt 3 tablespoons of butter in a saucepan over medium heat for the gravy.
- Whisk 3 tablespoons of flour into the melted butter to create a roux.
- Add milk gradually while whisking to prevent lumps, then simmer for 5-7 minutes.
- Season the gravy with salt and pepper before spooning over the finished chicken.
Chef Tips for Perfect Results
- Monitor Temp: Use an instant-read thermometer for the oil; if it drops below 350°F, the breading will absorb excess grease.
- Resting: Let the chicken drain on a wire rack for 2 minutes before serving to keep the crust crispy.
- Doneness: Check the internal temperature of the chicken; it must reach 165°F (74°C) to be perfectly safe and tender.
- Gravy Texture: If your gravy is too thin, create a small slurry of milk and flour to adjust thickness after it starts boiling.
- Avoid Crowding: Fry in batches to ensure the oil temperature remains stable.
Common Mistakes to Avoid
- Overcrowding the Pan: This lowers the oil temperature | Results in greasy, soggy breading | Work in batches of 1-2 pieces.
- Inconsistent Pounding: Leads to uneven cooking | Thick parts remain raw while thin parts burn | Pound to a uniform 1/4 inch.
- Rushing the Gravy: Results in a floury, raw taste | The roux needs to cook in the milk for 5-7 minutes | Simmer until the sauce thickens and coats the back of a spoon.
How to Make This Recipe Healthier
- All-purpose flour → Spelt flour: Adds fiber but keeps a light texture.
- Whole milk → Unsweetened almond milk: Reduces total calorie count in the gravy by 20%.
- Deep frying → Air frying: Reduces total fat significantly, though the crust will be less traditional in texture.
Variations and Substitutions
| Ingredient | Substitution | Flavor Impact | Texture Impact |
| Canola Oil | Ghee | Rich, nutty note | Slightly crisper |
| Whole Milk | Soy Milk | Mildly sweet | Minimal difference |
| Hot Sauce | Cayenne Powder | More consistent heat | None |
Can You Make This Ahead?
Yes. You can prepare the chicken through step 6 of the instructions up to 24 hours in advance. Store the breaded, refrigerated chicken on a parchment-lined baking sheet covered lightly with plastic wrap. For the best texture, fry the chicken only when you are ready to serve. You can prepare the gravy base early, but it is best to whisk in the final milk additions right before serving to maintain a smooth, lump-free consistency.
Serving Suggestions and Pairings
Serve the chicken hot with buttery mashed potatoes and steamed green beans with lemon zest. A crisp glass of cold unsweetened iced tea with a slice of lemon perfectly cuts through the richness of the fried crust. For a more decadent meal, pair it with buttery biscuits and a light coleslaw. Always plate the chicken immediately after its short rest so the gravy stays hot and the breading retains its crunch.
Best Occasions to Serve This Recipe
This dish is a powerhouse for Sunday family dinners, where you have the time to properly fry and make the gravy. It also serves as an excellent “showstopper” meal for casual weekend entertaining when you want to impress guests with homemade comfort food. Because it is highly customizable, it is also a perfect option for picky eaters who appreciate high-quality, recognizable textures and flavors.
Storage and Reheating
Store any leftovers in an airtight container within the refrigerator for up to 3 days. To reheat, avoid the microwave as it will turn the crust soggy instantly. Instead, place the chicken on a wire rack over a baking sheet and heat in a 375°F oven for 10-12 minutes.
| Method | Duration | Instructions |
| Refrigerator | 3 days | Airtight container |
| Oven Reheat | 12 minutes | 375°F on cooling rack |
| Freezer | 1 month | Freeze raw and breaded, fry from frozen |
Nutritional Information
Approximate nutritional values per serving:
| Nutrient | Amount per Serving |
| Calories | 520 |
| Protein | 32g |
| Fat | 22g |
| Carbohydrates | 48g |
| Fiber | 2g |
| Sugar | 4g |
| Sodium | 850mg |
*Approximate values based on standard ingredients. Actual nutrition varies by brand and substitutions. This is not a substitute for professional nutritional advice.
Conclusion
Chicken fried chicken is more than just a meal; it is a reliable, comforting technique that brings the best of Southern cooking into your home kitchen. By focusing on uniform thickness and proper flour-dredging, you ensure a crisp finish that holds up perfectly under a blanket of velvety country gravy. This dish proves that the most satisfying food doesn’t require complex ingredients, just careful processing and attention to detail.
You will find that once you master the simple rhythm of the dredging station and the temperature control of the skillet, this recipe becomes a permanent addition to your rotation. It brings a touch of professional quality to your dinner table without the stress of an over-complicated process. Share this classic with family or save it for a weekend treat that never fails to satisfy.
FAQ
Can I substitute milk with almond milk in the gravy?
Yes, you can substitute the whole milk with unsweetened almond milk in the gravy, though the result will be slightly less creamy due to the lower fat content.
How do I know when the chicken is perfectly cooked?
The chicken is done when an instant-read thermometer inserted into the thickest part reads 165°F (74°C) and the exterior color is a deep, uniform golden brown.
What should I do if my gravy develops lumps?
If your gravy develops lumps, simply remove it from the heat and pass it through a fine-mesh sieve or use an immersion blender until smooth, then return it to the heat.
Can I make the breading ahead of time?
While you can bread the chicken a few hours early, it is best to fry it shortly after dredging so that the flour does not absorb too much moisture, which can compromise the crispiness.
Is this dish suitable for those with gluten sensitivities?
Yes, you can adapt this recipe by using a high-quality 1:1 gluten-free flour blend, which works remarkably well in deep-frying applications.
Print
Perfect Chicken Fried Chicken
- Total Time: 35
- Yield: 4 servings
- Diet: Halal
Description
Transform boneless, skinless chicken breasts into a Southern comfort classic with this perfected recipe. By pounding the chicken thin and utilizing a reliable three-step dredging process, you achieve a shatteringly crisp, herb-seasoned golden crust paired with an exceptionally tender and moist interior. Perfect for a hearty family dinner, this dish is best served smothered in creamy country gravy for the ultimate soul-warming experience.
Ingredients
4 boneless, skinless chicken breasts
2 cups all-purpose flour
1 cup buttermilk
1 tablespoon paprika
1 tablespoon garlic powder
1 tablespoon onion powder
1 teaspoon salt
1/2 teaspoon black pepper
2 cups vegetable oil for frying
Instructions
Place chicken breasts between plastic wrap and pound evenly to 1/2 inch thickness.
In a shallow bowl, whisk together the flour, paprika, garlic powder, onion powder, salt, and black pepper.
Place buttermilk in a separate shallow bowl.
Dip each chicken piece into the flour mixture, shake off excess, dip into the buttermilk, and then press firmly back into the flour to coat completely.
Heat oil in a large heavy-bottomed skillet to 350°F.
Fry chicken in batches for 3-4 minutes per side until golden brown and cooked through.
Drain on a wire rack and serve immediately.
Notes
Ensure oil temperature remains constant throughout frying for the best crunch. Serve with creamy country gravy, mashed potatoes, or steamed green vegetables. Store leftovers in an airtight container in the refrigerator and reheat in an oven to maintain crispness.
- Prep Time: 20
- Cook Time: 15
- Category: Meals
- Method: Deep Frying
- Cuisine: Southern American