
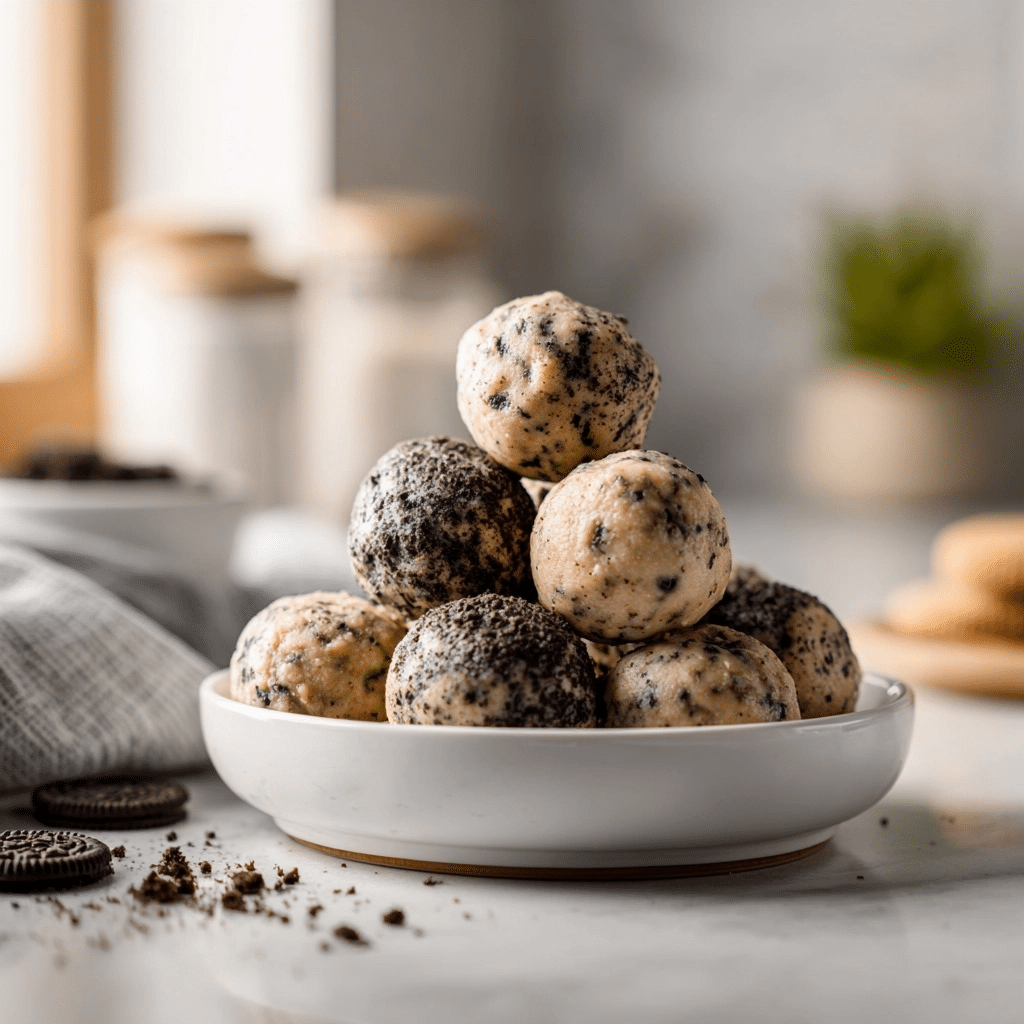
Peanut Butter Oreo Balls are a decadent, four-ingredient no-bake truffle that combines finely crushed sandwich cookies with tangy cream cheese and creamy peanut butter. This specific recipe utilizes a classic chocolate coating to seal in a rich, fudgy center that mimics the texture of high-end confectionery. You will find that the combination of salty peanut butter and dark cocoa cookies creates a balanced profile suitable for holiday platters or casual gatherings. Unlike traditional baked goods, these treats require no oven time and remain stable at room temperature for several hours. The preparation process involves simple mechanical crushing and mixing techniques that ensure a professional finish every time. Each bite delivers a satisfying crunch from the chocolate shell followed by a melt-in-your-mouth interior. This guide provides the exact ratios needed to achieve a firm structure that holds its shape during the dipping process.
Recipe Overview
| Prep Time | Cook Time | Total Time | Servings | Difficulty | Cuisine |
|---|---|---|---|---|---|
| 30 Minutes | 0 Minutes | 50 Minutes | 36 Balls | Easy | American |
Why This Recipe Works
I have spent years perfecting the ratio of fat to dry crumbs to ensure these truffles never turn out oily or crumbly. The inclusion of peanut butter adds a necessary structural integrity that standard Oreo ball recipes often lack. By using the natural oils in the peanut butter, we create a binder that complements the moisture of the cream cheese perfectly. I discovered that this trifecta of cookie, cheese, and nut butter creates a sophisticated saltiness that cuts through the intense sweetness of the chocolate coating.
Working with this recipe has taught me that temperature control is the absolute key to success in the kitchen. The brief freezing period between rolling and dipping is the secret step that prevents the balls from disintegrating in the warm chocolate. I always recommend this version to beginners because the dough is incredibly forgiving and easy to manipulate by hand. You get the aesthetic appeal of a gourmet truffle with a fraction of the traditional labor or specialized equipment usually required for candy making.
Ingredients
| Ingredient | Quantity | Notes and Alternatives |
|---|---|---|
| Oreo Cookies | 1 Package (approx. 14.3 oz) | Standard or Double Stuf; use Gluten-Free if necessary. |
| Cream Cheese | 8 oz (1 block) | Full-fat brick style; must be softened to room temperature. |
| Peanut Butter | ½ Cup | Creamy commercial brands work best; avoid natural oil-separating types. |
| Melted Chocolate | 2 Cups | Semi-sweet or dark chocolate melting wafers or high-quality chips. |
Step-by-Step Instructions
Phase 1: Preparing the Base
- Crush Oreo cookies into fine, uniform crumbs using a food processor or a heavy rolling pin inside a sealed plastic bag.
- Mix the cookie crumbs, softened cream cheese, and peanut butter in a large bowl until a cohesive, dark dough forms.
Phase 2: Shaping and Setting
- Roll the mixture into small, 1-inch balls by rotating portions between your palms until they are smooth and round.
- Place the formed balls on a parchment-lined baking sheet to prevent sticking during the chilling process.
- Freeze the Peanut Butter Oreo Balls for exactly 20 minutes to ensure they are firm enough for the coating step.
Phase 3: Coating and Storing
- Dip each chilled ball into the melted chocolate using a fork or dipping tool, allowing excess coating to drip off.
- Refrigerate the tray of covered truffles for at least 30 minutes until the chocolate shell has fully hardened and set.
Chef Tips for Perfect Results
- Pulverize the cookies until they resemble fine sand because large chunks will cause the balls to crack during rolling.
- Use room temperature cream cheese to avoid white lumps in the dark cookie dough which can affect the final visual texture.
- Melt your chocolate in 30-second intervals in the microwave to prevent scorching which ruins the flavor and consistency.
- Tapping the fork against the side of the bowl while dipping removes air bubbles and creates a perfectly smooth exterior.
- Apply any sprinkles or crushed cookie garnishes immediately after dipping before the chocolate sets to ensure they adhere properly.
Common Mistakes to Avoid
Many home cooks fail to chill the dough sufficiently, which results in the balls falling apart inside the warm melted chocolate. Always use the freezer for the initial set to provide a stable core temperature for the dipping process. Another frequent error is using “natural” peanut butter that requires stirring. The excess oil in these varieties prevents the dough from firming up, leading to a greasy and soft center. I also see people skipping the fine-crush stage for the Oreos. Large cookie pieces create air pockets that allow the chocolate shell to collapse inward once refrigerated. Lastly, do not overheat the chocolate coating, as seized chocolate becomes thick and won’t flow smoothly over the truffle surface.
Variations and Substitutions
| Ingredient | Substitution | Impact on Flavor |
|---|---|---|
| Semi-Sweet Chocolate | White Chocolate | Significantly increases sweetness and adds a creamy vanilla finish. |
| Peanut Butter | SunButter (Sunflower Seed) | Provides an earthy, nut-free flavor that is school-safe and savory. |
| Oreo Cookies | Golden Oreos | Creates a vanilla-based treat that tastes like cake batter. |
| Cream Cheese | Mascarpone | Offers a richer, less tangy profile with a silkier mouthfeel. |
Serving Suggestions and Pairings
Peanut Butter Oreo Balls serve as an excellent centerpiece for holiday dessert boards or as individual party favors for birthdays. You can present them in miniature cupcake liners to give them a professional confectionery appearance for formal events like weddings. They pair exceptionally well with a cold glass of milk or a strong cup of dark roast coffee to balance the richness. For a festive touch during the winter months, garnish them with crushed candy canes or sea salt flakes. These truffles are also the perfect addition to a gift box, as they are durable and visually consistent. Consider serving them alongside fresh berries to provide a tart contrast to the heavy chocolate and peanut butter profiles.
Storage and Reheating
| Method | Duration | Instructions |
|---|---|---|
| Refrigerator | Up to 2 Weeks | Store in an airtight container with parchment paper between layers. |
| Freezer | Up to 3 Months | Wrap tightly in plastic wrap and place in a heavy-duty freezer bag. |
| Room Temp | 2 Hours | Keep in a cool, dry place out of direct sunlight to prevent melting. |
Nutritional Information
| Nutrient | Amount per Serving |
|---|---|
| Calories | 145 kcal |
| Total Fat | 9g |
| Saturated Fat | 5g |
| Carbohydrates | 15g |
| Sugar | 12g |
| Protein | 2g |
| Sodium | 85mg |
Approximate values per one truffle based on standard ingredient brands.
Conclusion
Mastering the art of Peanut Butter Oreo Balls allows you to create a high-quality dessert with very little effort or specialized kitchen knowledge. By following the precise ratios of crushed cookies to cream cheese, you ensure a texture that is both firm and creamy. This recipe relies on the simple synergy between chocolate and peanut butter, a flavor profile that remains a universal favorite among all age groups. I encourage you to take your time during the dipping process, as the aesthetic finish is what truly elevates this from a snack to a gourmet gift. Remember that the quality of your chocolate coating will dictate the final taste, so opt for the best brand available to you. These truffles are robust enough to withstand travel, making them the ideal choice for potlucks or office parties where display time is long. Whether you are preparing these for a special occasion or a mid-week treat, the result is always a crowd-pleasing success. The cooling sensation of the chilled center coupled with the snap of the chocolate provides a sensory experience that rivals any bakery-bought candy. Do not be afraid to experiment with different toppings once you have the base technique perfected. End every celebration with a plate of these rich, decadent bites that highlight the iconic signature flavor of chocolate and peanut butter.
FAQ
Can I make Peanut Butter Oreo Balls without a food processor?
You can successfully crush the cookies by placing them in a large gallon-sized freezer bag and using a rolling pin or heavy skillet to pulverize them. Ensure no large chunks remain to maintain a smooth texture in the final truffles. This manual method works perfectly and allows for better control over the crumb size.
How do I know when the truffle center is done chilling?
The truffles are ready for dipping when they feel firm to the touch and do not leave any residue on your fingers when handled. This typically takes 20 minutes in a standard household freezer or 1 hour in the refrigerator. A properly chilled center prevents the ball from losing its shape when submerged in warm chocolate.
Why is my chocolate coating cracking after it sets?
Cracking occurs when there is an extreme temperature difference between the frozen truffle center and the room temperature chocolate. To prevent this, allow the balls to sit at room temperature for five minutes after removing them from the freezer before dipping. This slight adjustment stabilizes the expansion and contraction of the chocolate shell.
Can I make these treats several days in advance?
These truffles are ideal for advance preparation and can be stored in the refrigerator for up to 14 days without losing quality. Ensure they are kept in a sealed airtight container to prevent them from absorbing other odors from the fridge. This makes them a perfect solution for busy holiday hosting schedules.
What is the best way to serve these for a party?
Serve the truffles chilled directly from the refrigerator to maintain the best structural integrity and snappy chocolate texture. Use small paper liners for each ball to make them easy for guests to grab without getting chocolate on their hands. They can remain at a cool room temperature for up to two hours during the event.
Print
Peanut Butter Oreo Balls: The Ultimate No-Bake Easy Dessert
- Total Time: 50
- Yield: 36 balls
- Diet: Vegetarian
Description
Celebrate convenience with these creamy, no-bake truffles blending crushed Oreo cookies, tangy cream cheese, and rich peanut butter, coated in smooth dark chocolate.
Ingredients
1 package Oreo cookies (14.3 oz)
8 oz full-fat cream cheese (softened)
½ cup creamy peanut butter
1 cup semi-sweet baking chocolate or dark chocolate chips
Instructions
Place Oreo cookies in a food processor or zip-top bag and crush into fine crumbs.
Add softened cream cheese and peanut butter to bowl with cookie crumbs.
Mix until combined, forming a sticky dough with no dry streaks.
Chill the dough in the refrigerator for 15 minutes.
Scoop 1 tbsp dough and roll into ball between palms.
Place balls on parchment paper and freeze for 20 minutes.
Melt chocolate in microwave or double boiler until smooth.
Dip chilled balls in melted chocolate, coating evenly.
Allow excess chocolate to drip off, then place on wax paper.
Let set at room temperature (15–20 minutes) or refrigerate briefly (10–15 minutes).
Notes
Adjust dough consistency: Add a teaspoon of milk if too dry, or more cookies if too moist.
Use halal-certified chocolate for dietary compliance.
Store in airtight container for up to 5 days at room temperature.
- Prep Time: 30
- Category: Reese’s Cups & Copycat Peanut Butter Chocolates
- Method: No-Bake
- Cuisine: American